
How to Use GlossGenius
Learn how to use GlossGenius from start to finish. This easy guide shows you how to use GlossGenius for booking appointments, taking payments, managing clients, and growing your beauty business. Perfect for beginners who want to learn GlossGenius booking software quickly.
Running a beauty business is hard work. You need to answer phone calls, remember appointments, take payments, and keep track of your clients. It’s a lot to handle, especially when you’re trying to focus on doing great work for your customers. That’s where GlossGenius comes in to make your life easier.
If you’re wondering how to use GlossGenius to grow your beauty business, you’re in the right place. This complete guide will walk you through everything you need to know, from setting up your account to booking your first client and getting paid.
GlossGenius is a simple all-in-one software made specifically for beauty and wellness professionals. Whether you do hair, nails, massage, makeup, or any other beauty service, this tool helps you run your entire business from one place. Instead of using different apps for booking, payments, and client management, GlossGenius puts everything together in one easy platform.
The best part? You don’t need to be tech-savvy to use it. The system is designed for busy beauty professionals who want something that just works without complicated setup or confusing buttons. Within just a few minutes, you can have your business up and running online.
In this guide, we’ll show you exactly how to use GlossGenius from start to finish. You’ll learn how to create your account, add your services and prices, set up your calendar, take payments from clients, and manage your bookings like a pro. We’ll also share tips on avoiding common mistakes that new users make and show you advanced features that can help you earn more money.
Before You Start
Video Tutorial
Step-by-Step Instructions
Sign Up and Create Your Account
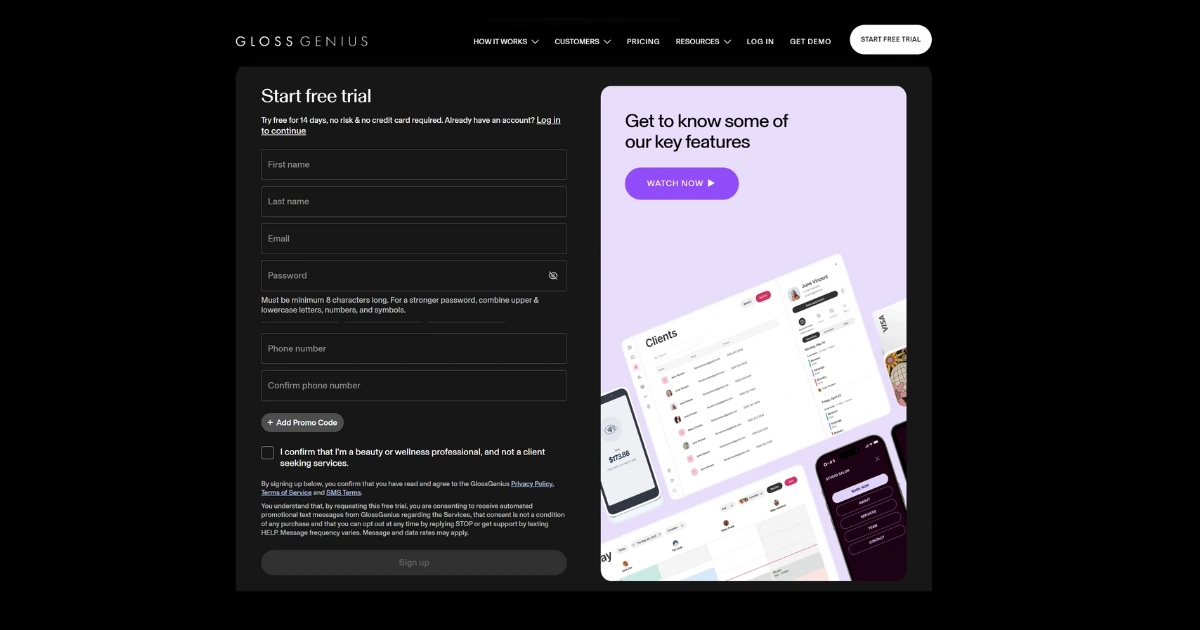
When you first learn how to use GlossGenius, start by going to glossgenius.com and click “Get Started” or “Sign Up.” Type your name, email address, phone number, and make a strong password. GlossGenius will send you a code to your phone. Enter this code to check your account. Pick your business type from choices like hair salon, nail salon, spa, barbershop, or other beauty services. This GlossGenius setup takes only 5 minutes.
Add Your Business Information
Type your business name, business address, and phone number into the GlossGenius platform. Upload your business logo if you have one (this shows on booking pages and receipts). Add your business hours for each day of the week. Write a short description of your business that clients will see when they book through GlossGenius. Add photos of your workspace, past work, or your team to build trust with new clients.

Create Your Service Menu in GlossGenius
Click on “Services” in the menu. Click “Add Service” to create each treatment you offer. For each service, type the name (like “Women’s Haircut” or “Gel Manicure”), description, price, and how long it takes. You can organize services into groups like “Hair Services,” “Nail Services,” or “Facial Treatments.” Set different prices for different service levels if needed. Turn on online booking for each service you want clients to book themselves using the GlossGenius booking system.

Set Up GlossGenius Payment Processing
Go to “Settings” then “Payments” in your GlossGenius dashboard. Connect your bank account by typing your routing number and account number. GlossGenius will check your bank in 1-2 business days. Choose which payment ways you accept: credit cards, debit cards, cash, or other methods. Set up your payment rules like deposits, cancellation fees, or no-show fees. Turn on automatic payment reminders so clients get reminders to pay before appointments through GlossGenius.

Set Up Your GlossGenius Calendar
Click on “Calendar” to set up when you can take bookings. Set your working hours for each day of the week. Block out times when you’re not free like lunch breaks, personal appointments, or days off. Set buffer time between appointments so you have time to clean up and get ready. Choose how far ahead clients can book (like 2 hours notice minimum or 3 months maximum). Set your cancellation policy and how much notice clients must give. The GlossGenius calendar helps you stay organized.

Add Client Information
Go to “Clients” and click “Add Client.” Type client name, phone number, and email address. Add notes about the client like hair color choices, allergies, or special requests. Upload photos of past work you’ve done for them. Add their birthday so you can send special offers. Create tags to sort clients like “Regular,” “New,” or “VIP.” You can also add their payment method and booking history in the GlossGenius client management system.

Schedule an Appointment Using GlossGenius
From your calendar, click on an empty time slot or click “New Appointment.” Pick the client (or add a new one). Choose the service they want. Pick the date and time. Add any notes about what they want. Send the booking confirmation to their email or phone. You can also let clients book themselves through your personal booking link that GlossGenius creates for you. This is one of the best features when you learn how to use GlossGenius effectively.

Accept Payments from Clients
When a client finishes their appointment, go to their appointment in the calendar. Click “Check Out” to finish the appointment. The total shows the service price plus any products or tips. Choose payment method: card on file, new card, cash, or other. If using a card, type the card information or let the client tap their phone for contactless payment with GlossGenius payment processing. Send the receipt to their email or phone. GlossGenius puts money in your bank account within 2 business days.

Send Messages and Reminders
GlossGenius automatically sends appointment reminders to clients 24 hours before their booking. You can also send custom messages to clients through the app. Use the messaging feature to confirm appointments, send thank you notes, or share special deals. Set up automatic messages for birthdays, follow-ups after appointments, or booking confirmations. Read client notes before appointments so you remember what they like.

Track Your Business Performance
Go to “Reports” to see your business performance in the GlossGenius software. Check daily, weekly, or monthly revenue to see how much you’re earning. See which services are most popular and make you the most money. Track how many new clients you’re getting versus returning clients. Watch no-shows and cancellations to spot patterns. Review payment reports to see what’s been paid and what’s outstanding. Use this data to make better business choices.

Use the Mobile App
Download the GlossGenius app from App Store or Google Play. Log in with your account details. The mobile app lets you do everything you can do on the computer. Check your calendar, book appointments, process payments, message clients, and view reports all from your phone. Turn on push notifications so you get alerts for new bookings, client messages, and payment confirmations on the GlossGenius mobile app.

Customize Your Booking Page
Go to “Settings” then “Booking Site.” Change your booking page colors to match your brand. Add your logo and cover photo. Write a welcome message that greets clients when they visit your page. Add your social media links so clients can follow you. Turn on or off features like gift certificates, memberships, or packages. Share your unique booking link everywhere: Instagram bio, Facebook page, Google Business Profile, business cards, and text messages.