How to Use Square Point of Sale
Learn Square POS setup in simple steps - from account creation to your first sale
Starting a business is a big step, and one of the most important parts is getting paid. You need a system that’s simple, trustworthy, and quick to set up. For many new business owners, Square is the answer. With just a smartphone and a small card reader, you can start accepting payments right away.
This guide will show you exactly how to use Square Point of Sale from the beginning — step by step.
Learning how to use Square Point of Sale is simple. You don’t need to be a tech expert to get started. The system helps you go from unboxing your reader to making your first sale in less than 30 minutes. Square replaces expensive cash registers and confusing contracts with one free app and clear, pay-as-you-go fees
Before You Start
Video Tutorial
Step-by-Step Instructions
Sign Up for Your Account
Go to Square’s website or download the app. Click “Sign Up” and enter your email and password. Add your business name and location. Square sends a verification email – click the link to confirm your account. Now you’re ready to start.

Connect Your Bank Account
Open Square Dashboard and go to “Account & Settings.” Click “Bank Accounts” then “Add Bank Account.” Enter your bank routing number and account number. Square sends two small deposits to verify your bank. Check your bank in 2-3 days and enter the amounts in Square.

Download the App
Open App Store (iPhone) or Google Play (Android). Search “Square Point of Sale” and tap Install. Open the app and sign in with your email and password. Allow the app to access your camera and location – this helps process payments and send receipts.

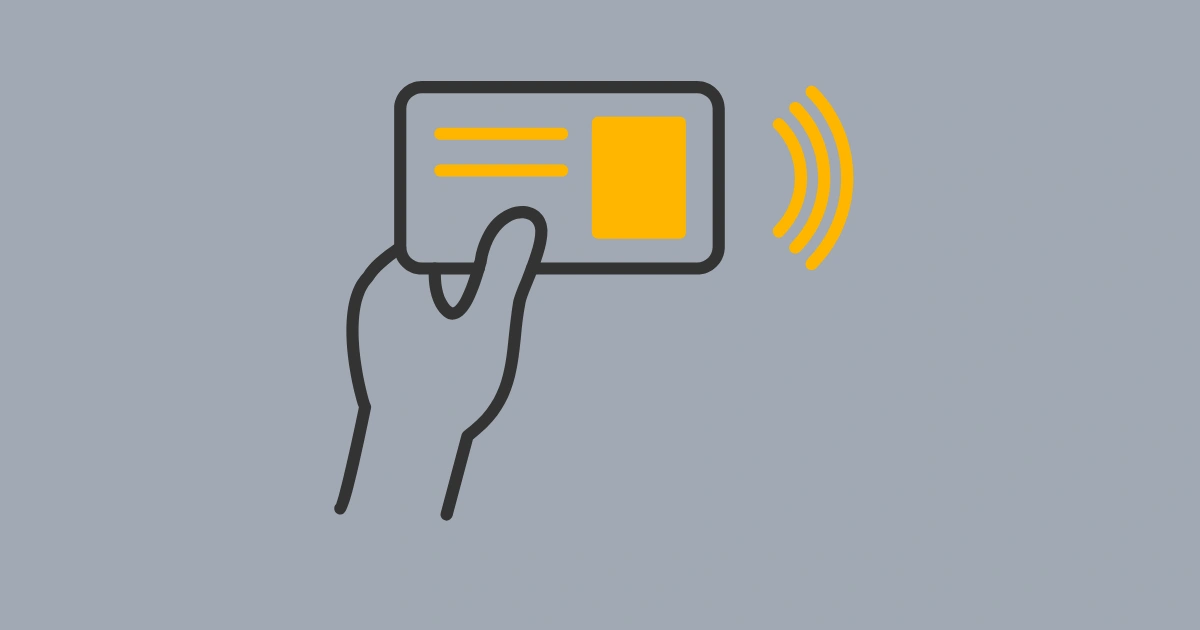
Get Your Card Reader
Order a card reader from your Square Dashboard under “Hardware.” Square offers a free magstripe reader or you can buy the contactless reader ($49) for chip and tap cards. Connect it via Bluetooth – go to Settings > Hardware > Connect a Reader. Turn on your reader and select it from the list to pair.
Add Your Products
In the app, tap the menu and select “Items.” Tap “+” to add products. Enter the product name, price, and category. Add photos if you want. Create items for everything you sell. Organize them into categories like “Drinks,” “Food,” or “Services” to make checkout faster.

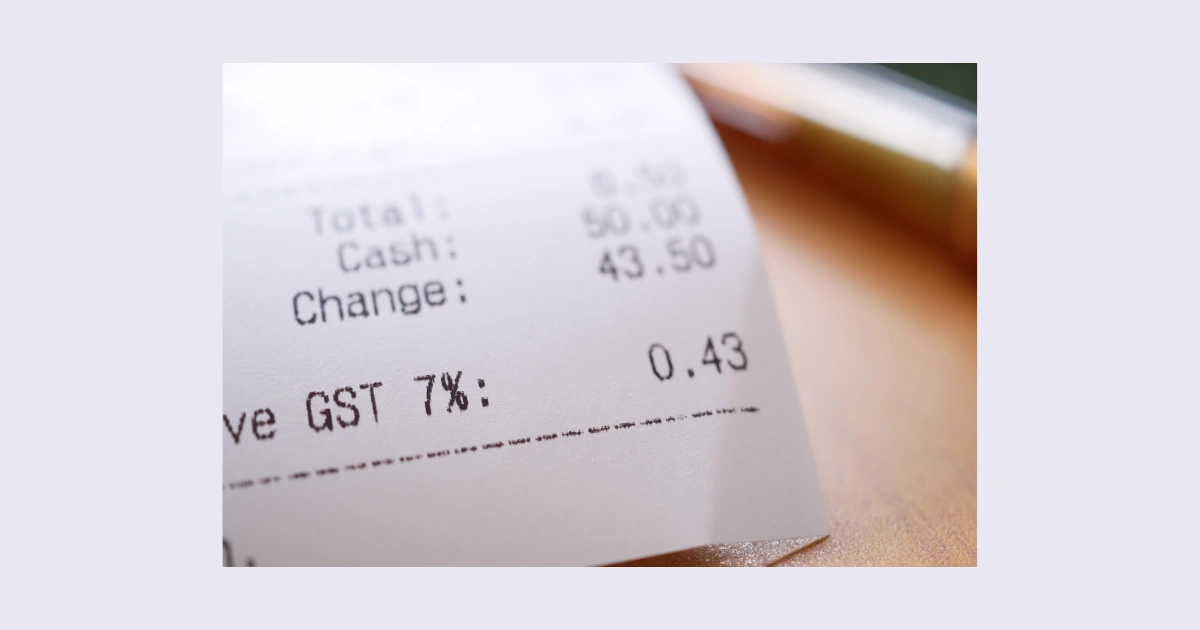
Configure Tax Settings
Go to Settings > Taxes in your app. Tap “Create a Tax” and enter your local sales tax rate. Name it (like “Sales Tax”) and choose if it applies to all items. Square automatically calculates tax on every sale.

Set Up Receipt Options
Go to Settings > Receipts. Add your business logo and contact info. Choose to send digital receipts by email or text. If you have a receipt printer, connect it through Hardware settings. Test print a receipt to make sure it works.
Add Team member
If you have staff, go to Settings > Team in Square Dashboard. Click “Add Team Member” and enter their name and email. Give them a 4-digit PIN to access the system. Set their permission level – full access or limited access. Each person can clock in and out in the app.

Test a Payment
Before selling to real customers, test the system. Add a test item for $0.01. Select it and tap “Charge.” Use your own card to complete the payment. This shows you how transactions work. Try chip, tap, and swipe payments. Refund yourself right after.
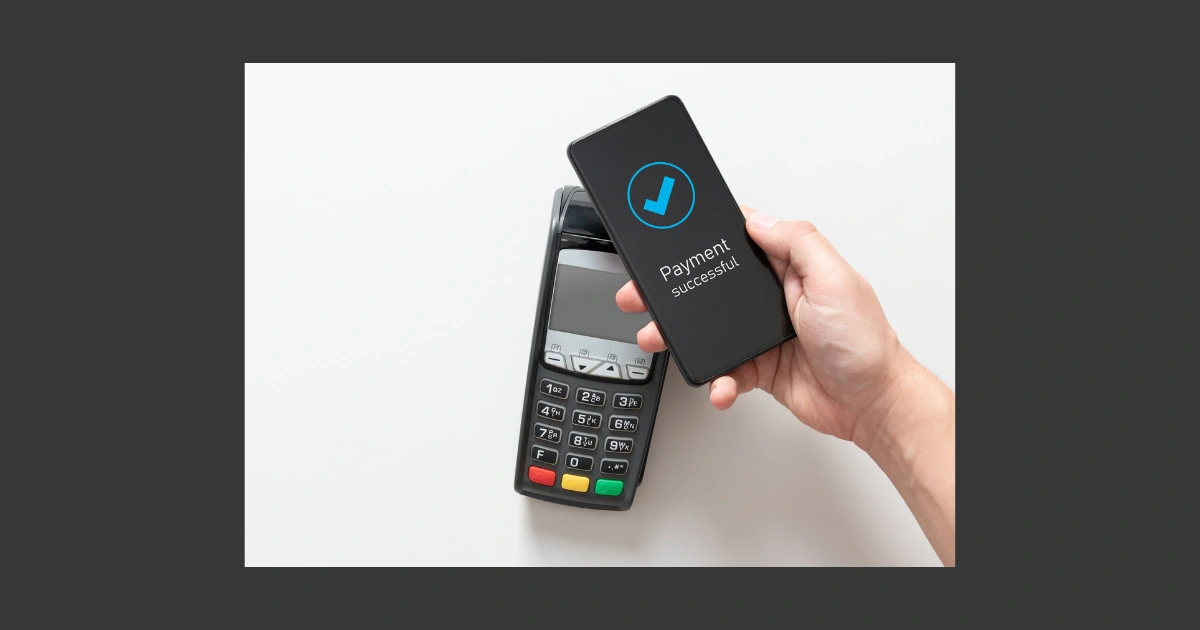
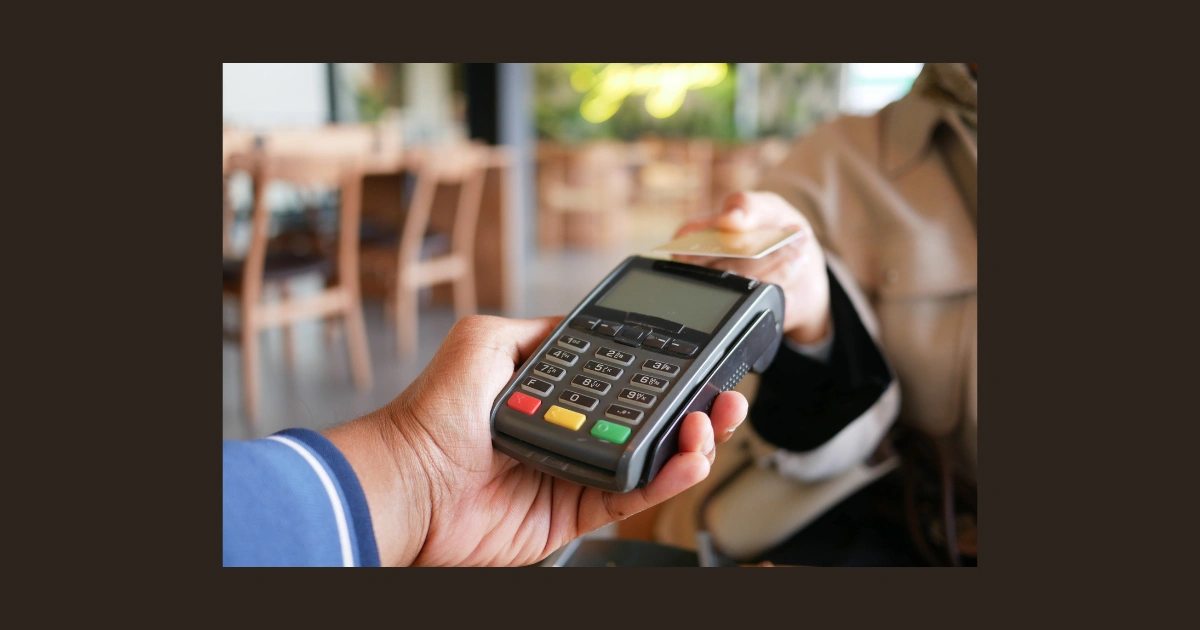
Process Real Customer Payments
You’re ready for real sales! When a customer checks out, select their items. The total appears on screen. Tap “Charge” and choose payment method. Customer inserts, taps, or swipes their card. Payment processes in 2-3 seconds. You’ll see a green checkmark when approved. Offer a receipt and you’re done.